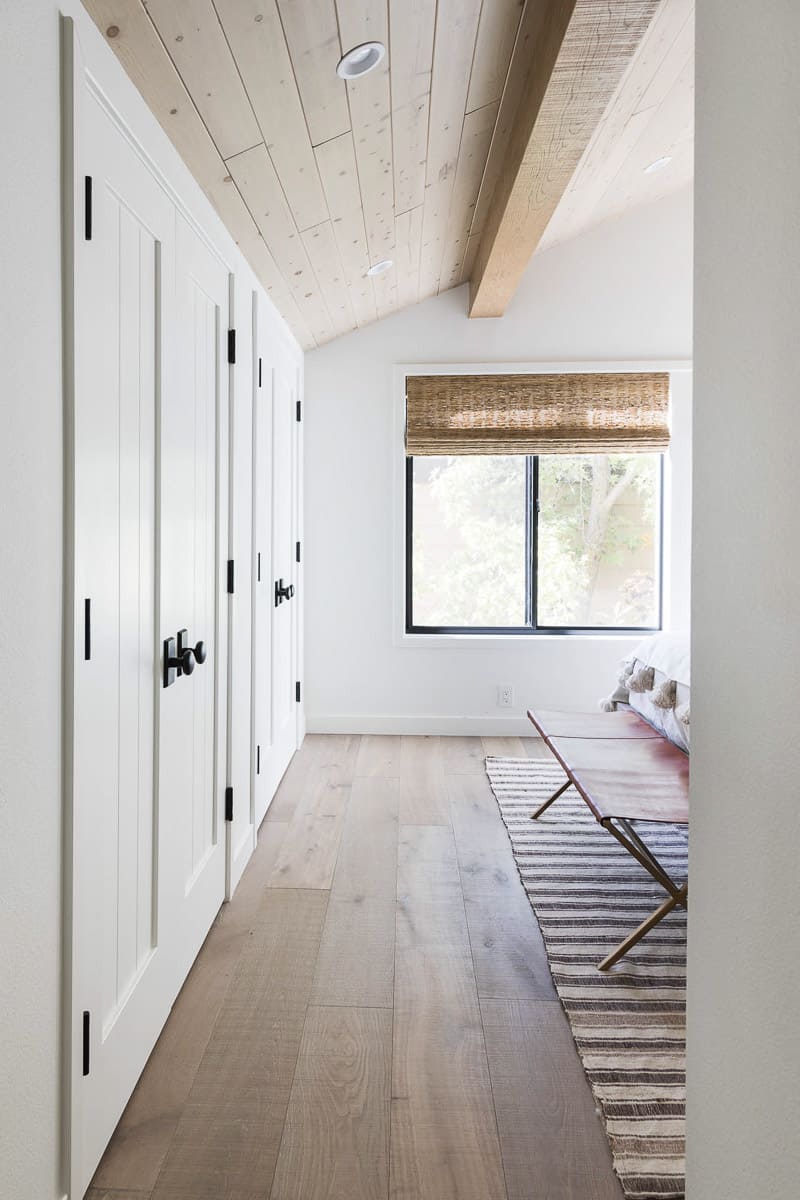
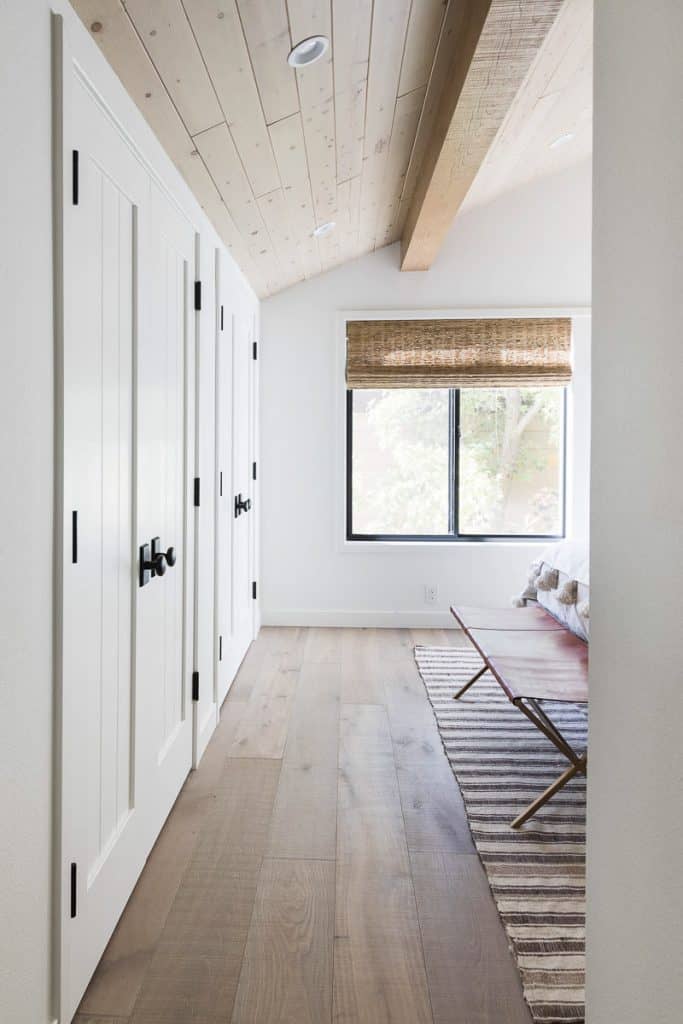
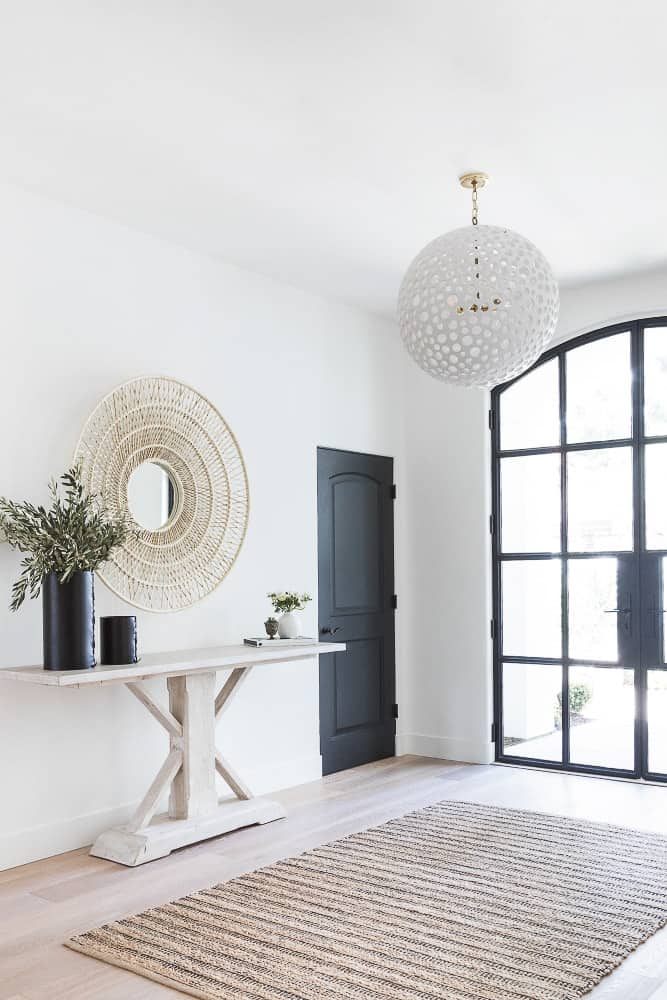
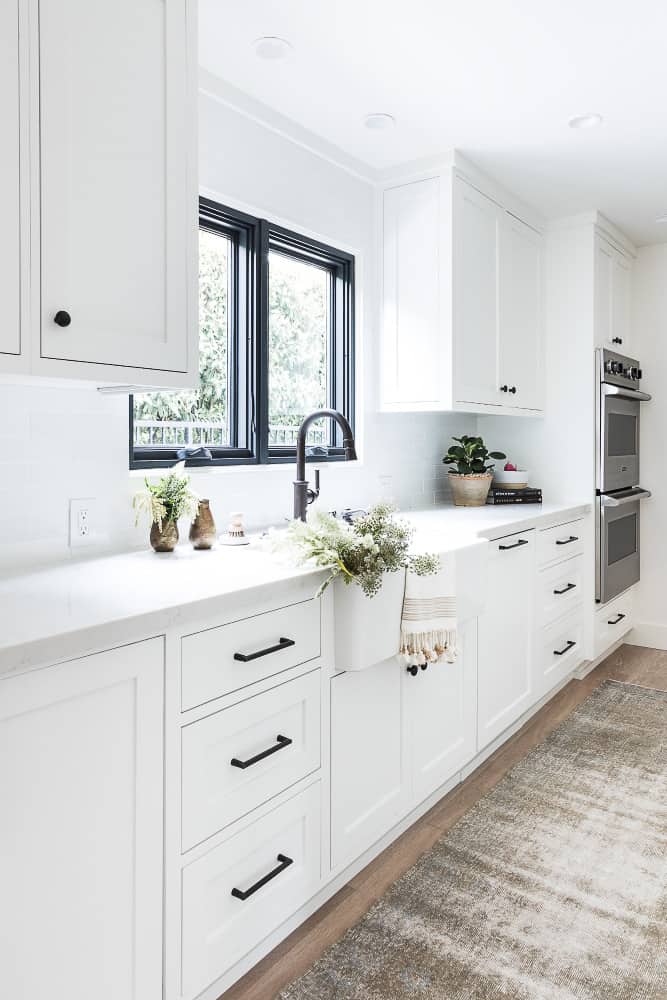
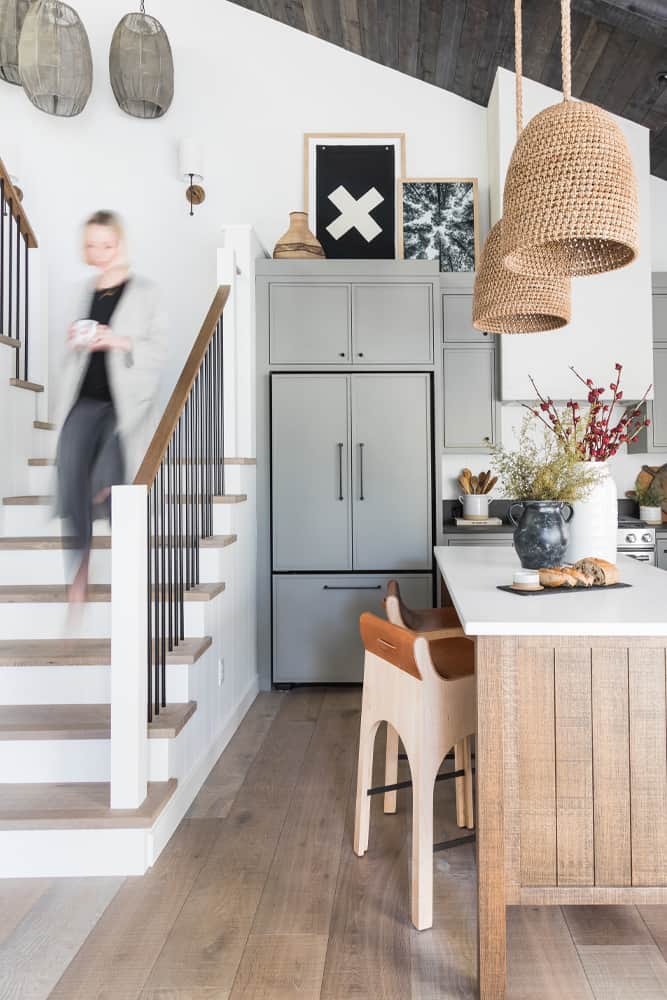
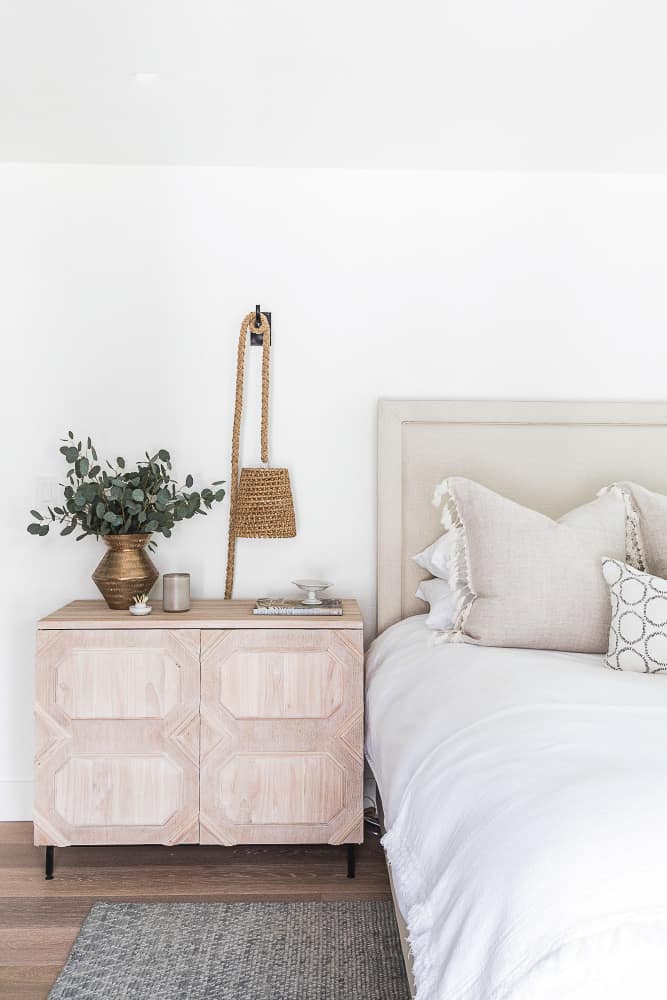
As one of our favorite photographer’s here at MGD, our go-to girl, Vanessa, has taken her fair share of architectural photos in stunning homes. As a photographer, she knows all too well that there are some best practices for shooting indoors and getting the most out of your photos, especially when they’re used to showcase portfolio projects with so many details. These photos are everything to us, and tell the best story of a home with her behind the lens. So, we picked her brain to create a handy little roundup of must-dos for getting the most out of your interior photos. Read along and get ready to start taking better interior photos!
A Snapshot of Top Interior Photography Tips
1. Tripod
Steady hands are sometimes easier said than done. So one of Vanessa’s top recommendations? Use a tripod! Her preference is a heavier tripod with quick release and lock adjustments. This helps to keep it steady with a heavy camera + lens combo, and allows you to easily adjust between wide room shots and close vignettes.
2. Natural Light
This one probably seems fairly obvious, but natural light is key when shooting inside! Whenever possible, maximize natural light. For interior design, we like to almost exclusively use the available natural light (unless the shot is to highlight a noteworthy light fixture), and turn off interior lights to get the best coloring throughout the space.
3. Perspective
Perspective? Check! Make sure pictures are taken near eye level to help maintain an accurate perspective of a room. Keeping it at eye level helps walls, corners, and doors can remain parallel. If you’re in a tight space or realize in post it’s a bit off, you can fix it with the Transform tool in Lightroom, but Vanessa recommends trying to get it as straight as possible in camera first so you can edit less on the backend!
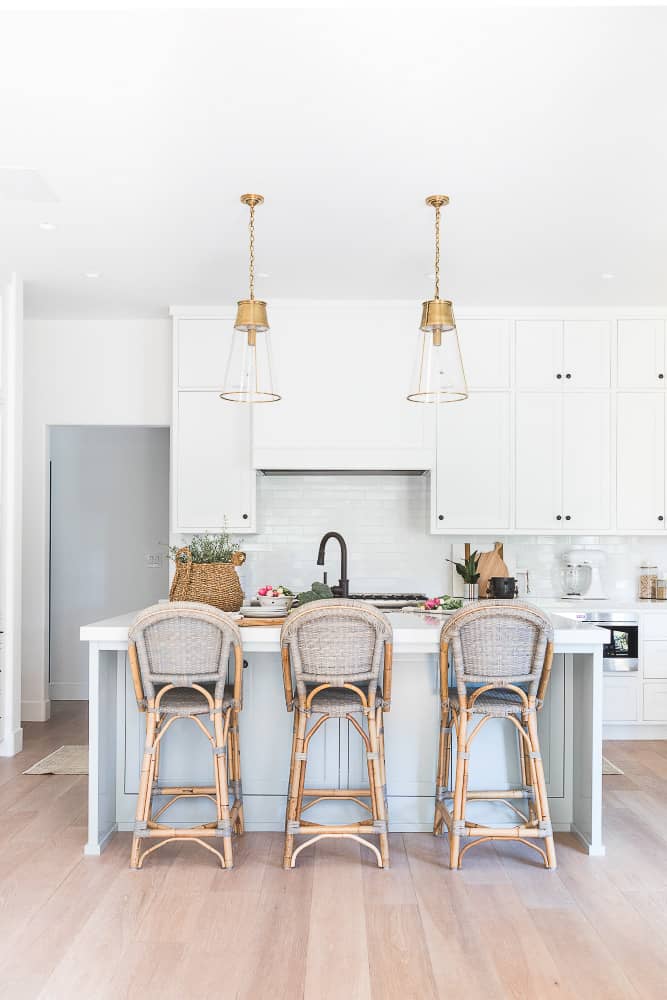
4. Balance
When setting up a shot, the photographer and design team often work hand in hand to ensure each room shot feels balanced in camera. For example, sometimes a floral arrangement looks great centered on a table in person, but it will look off balance in camera…so we need to move it to a balanced spot on camera to avoid any specific spot looking too “heavy.” Likewise, a bowl of fruit may create too much of a color punch in a photo, so we may swap the fruit out for something more in line with the décor, allowing the photo to feel balanced in color and materials.
5. Settings
For most room shots, Vanessa’s preference is to shoot at F9 with ISO 200…now, what does that technical talk mean? Basically, she prefers to rely on a tripod when shooting indoor spaces because it demands a long exposure. But the high F-stop allows everything to be in focus and the low ISO preserves clarity, making for a light, bright, beautiful finished photo in each room.
6. Editing
And last but not least…editing! While editing, less is always more, at least in our professional opinion. 🙂 Don’t tweak colors or add hues to highlights and shadow. Instead, focus on contrast, rich blacks and bright whites, and proper white balance to accurately capture each design and let the room your shooting truly shine!
And that’s that! A few of our photographer’s top tips for shooting better interior photos. Hope you enjoyed! Follow along on Instagram to see more of Vanessa’s photography from our MGD projects, and let us know in the comments what you want to see next!


