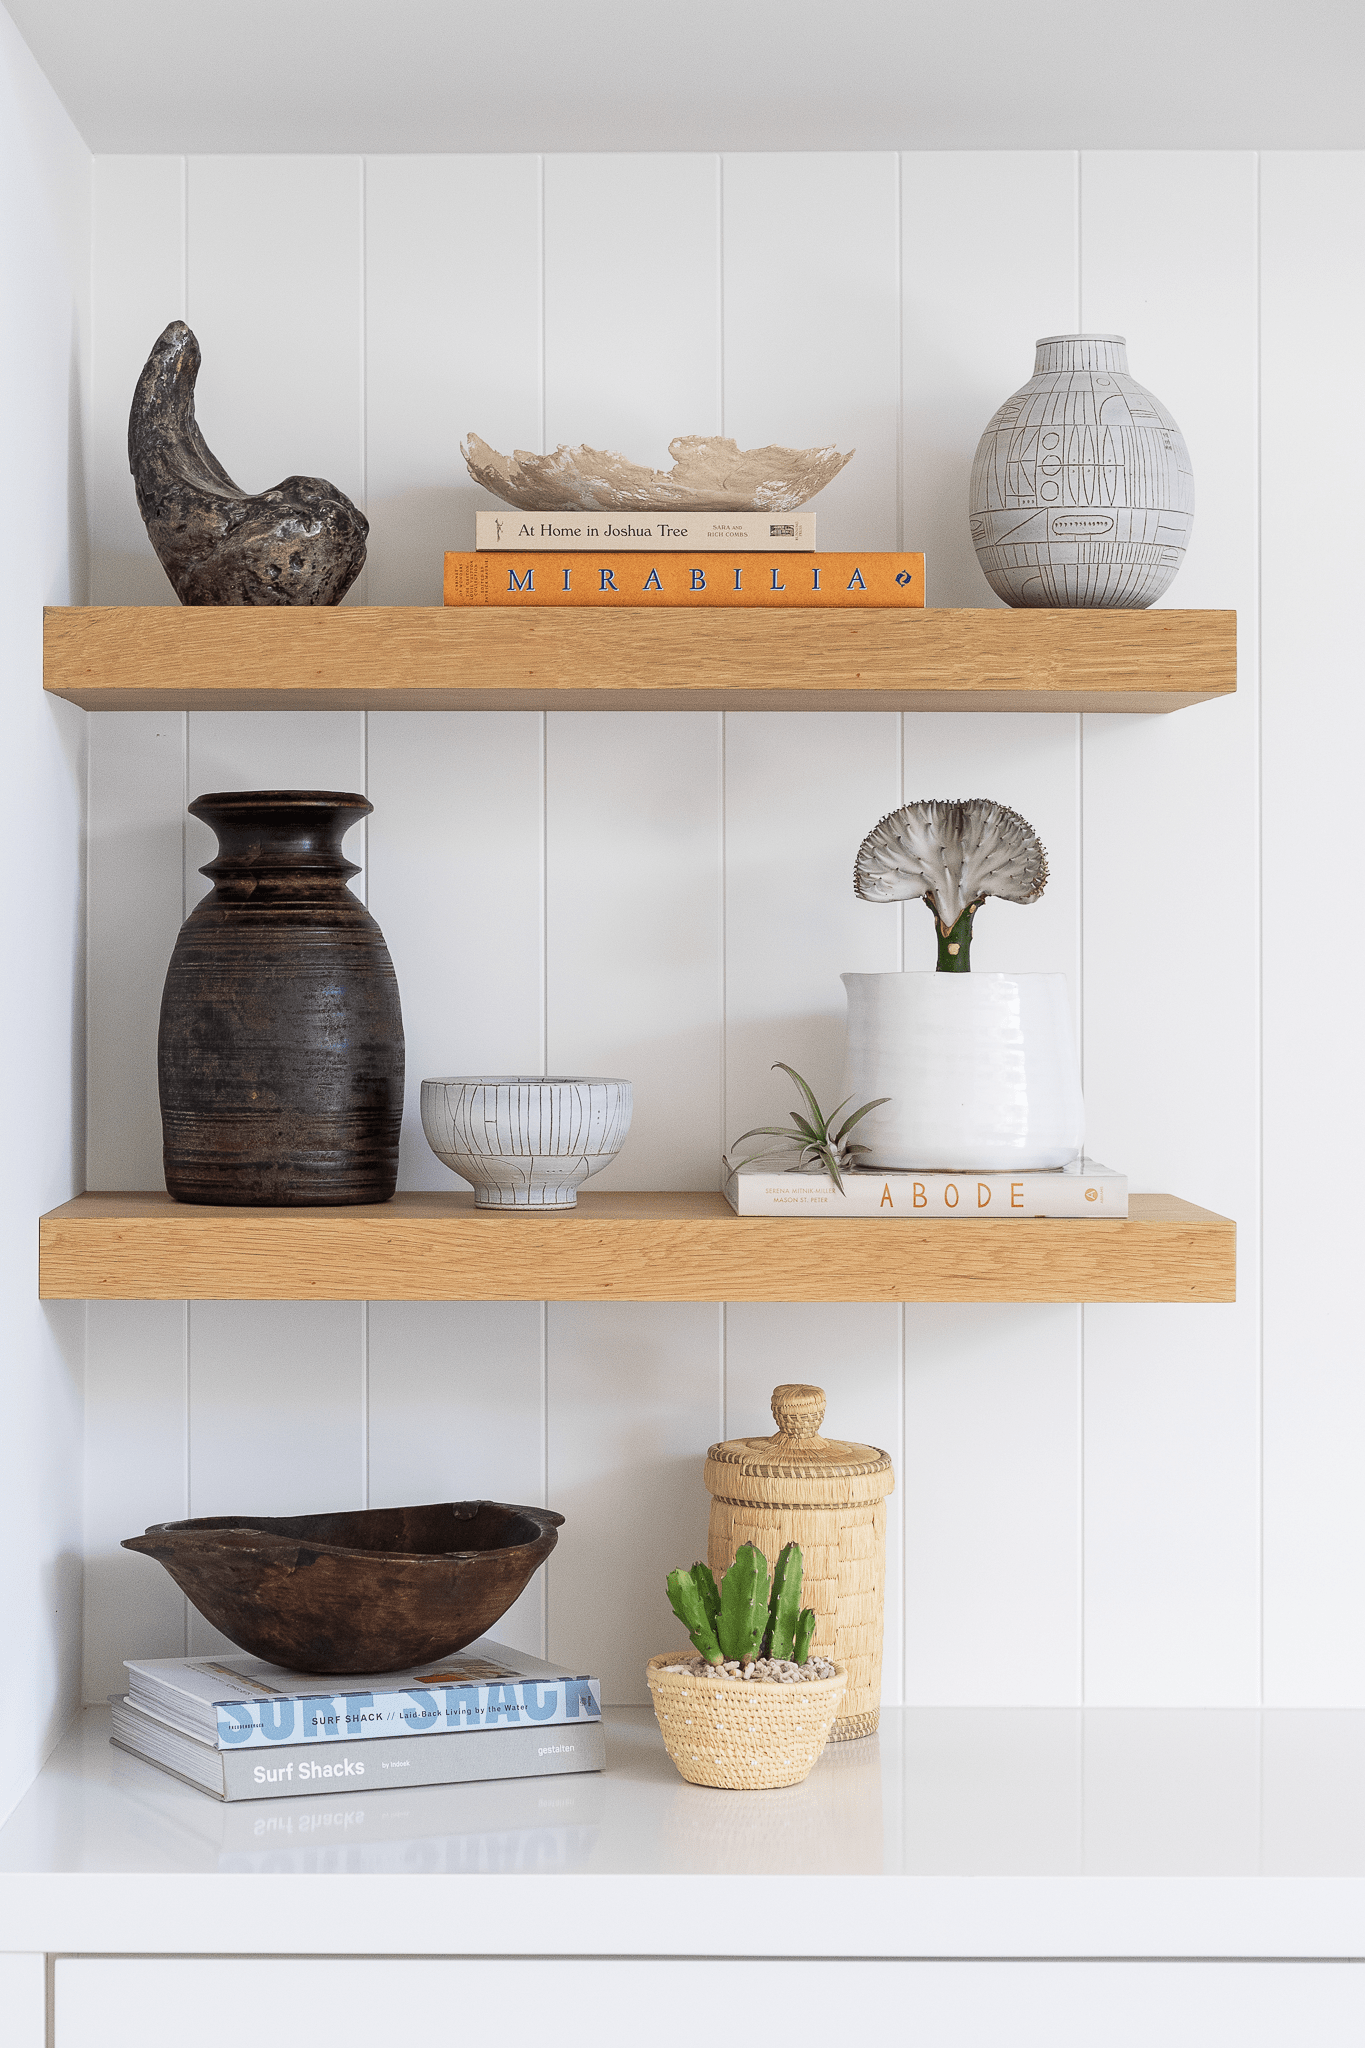
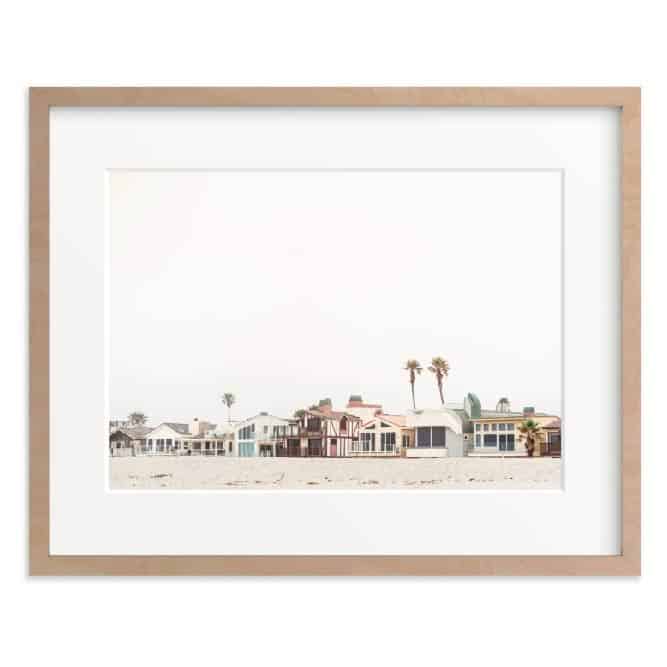
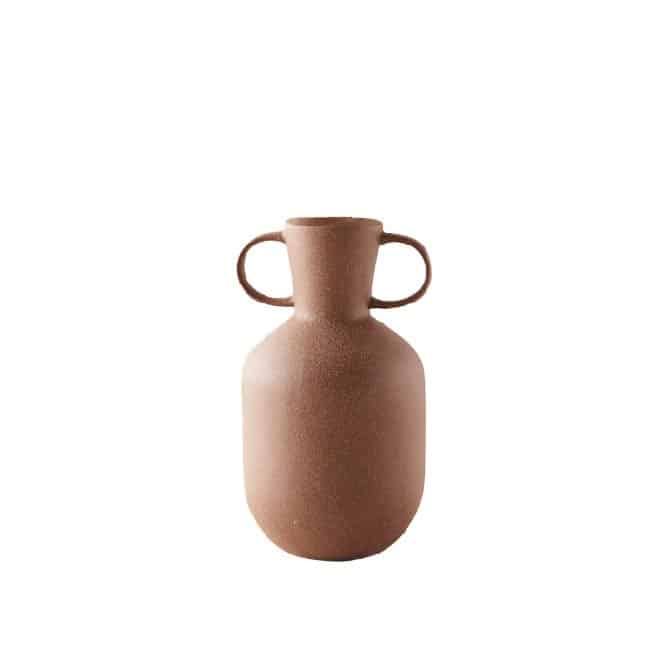
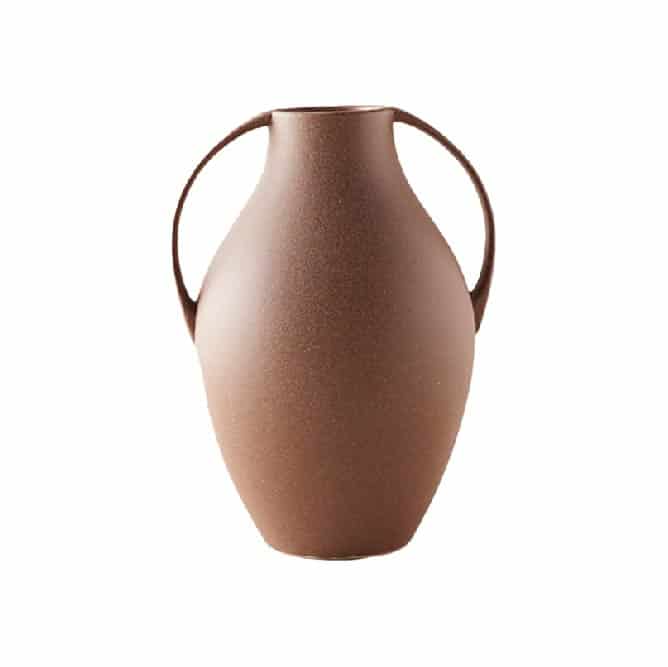
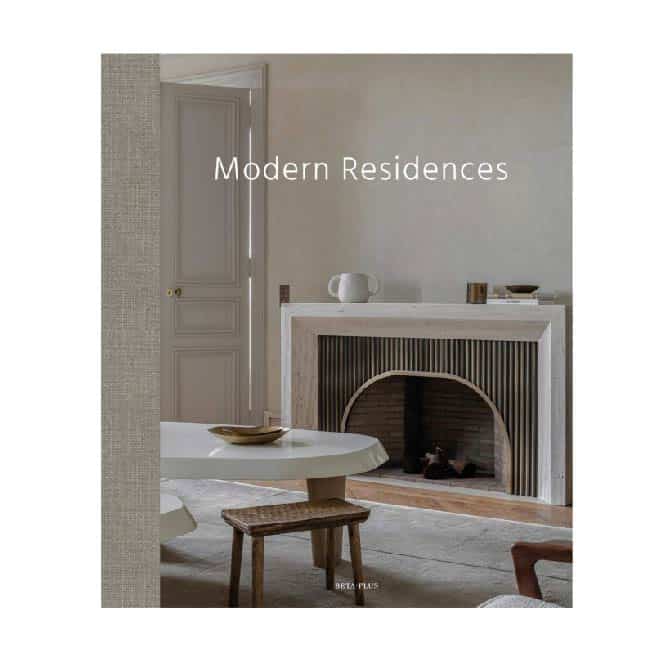
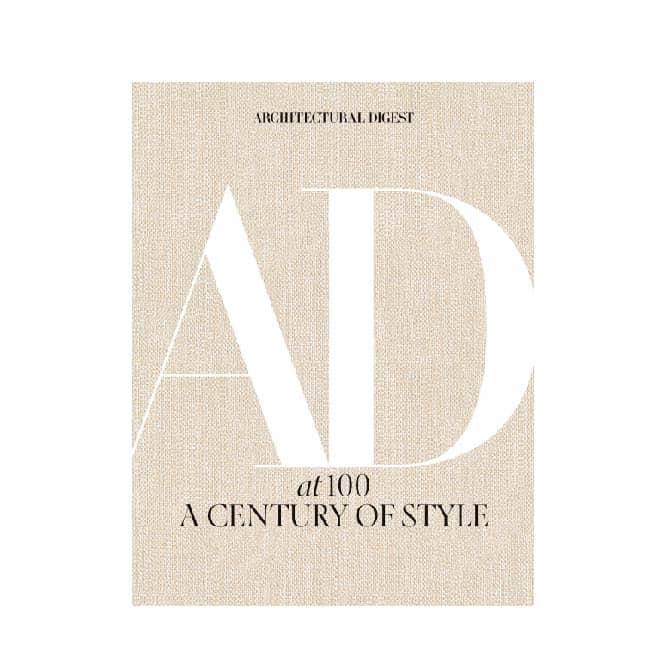
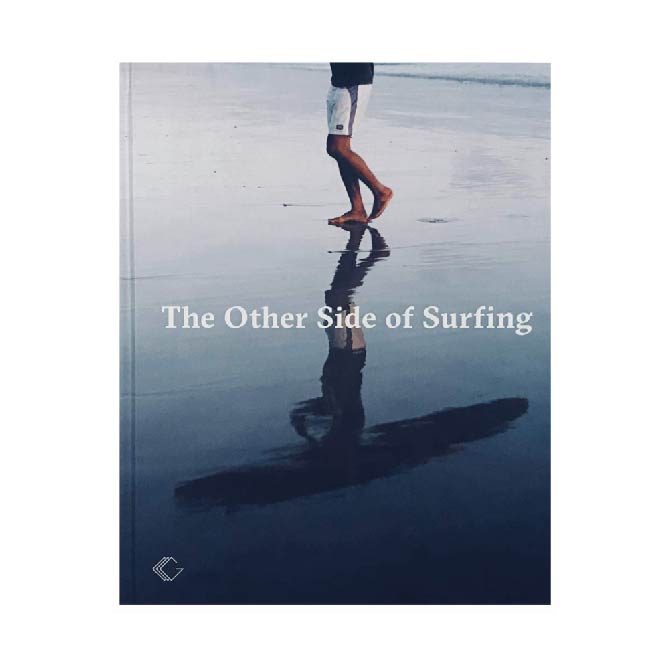
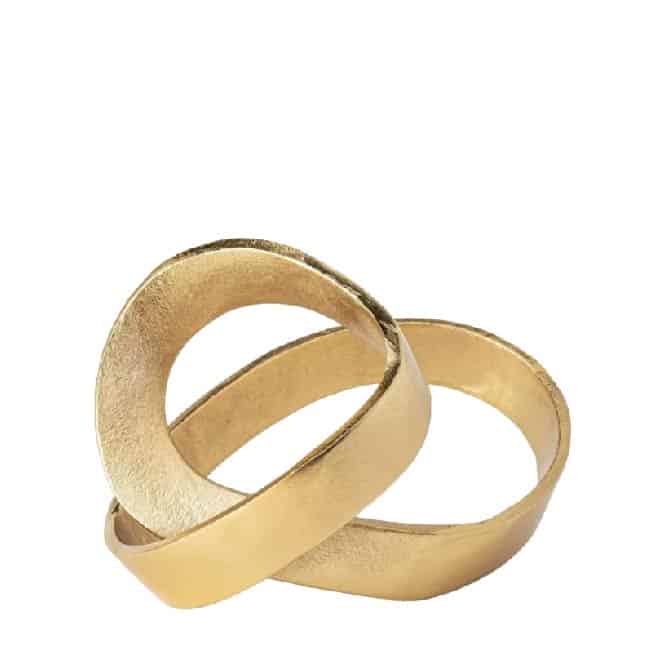
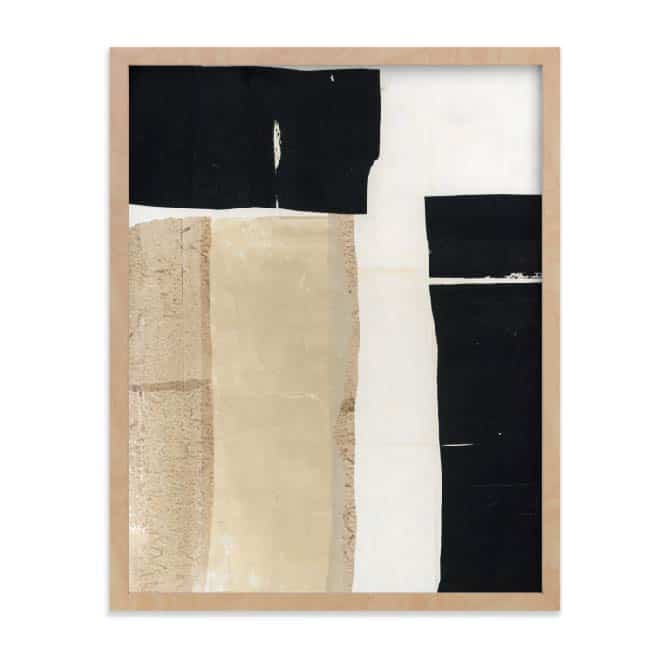
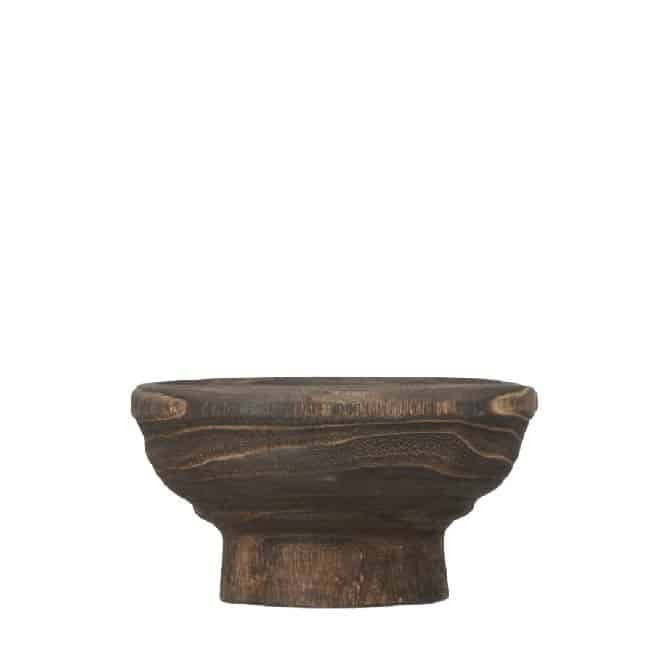
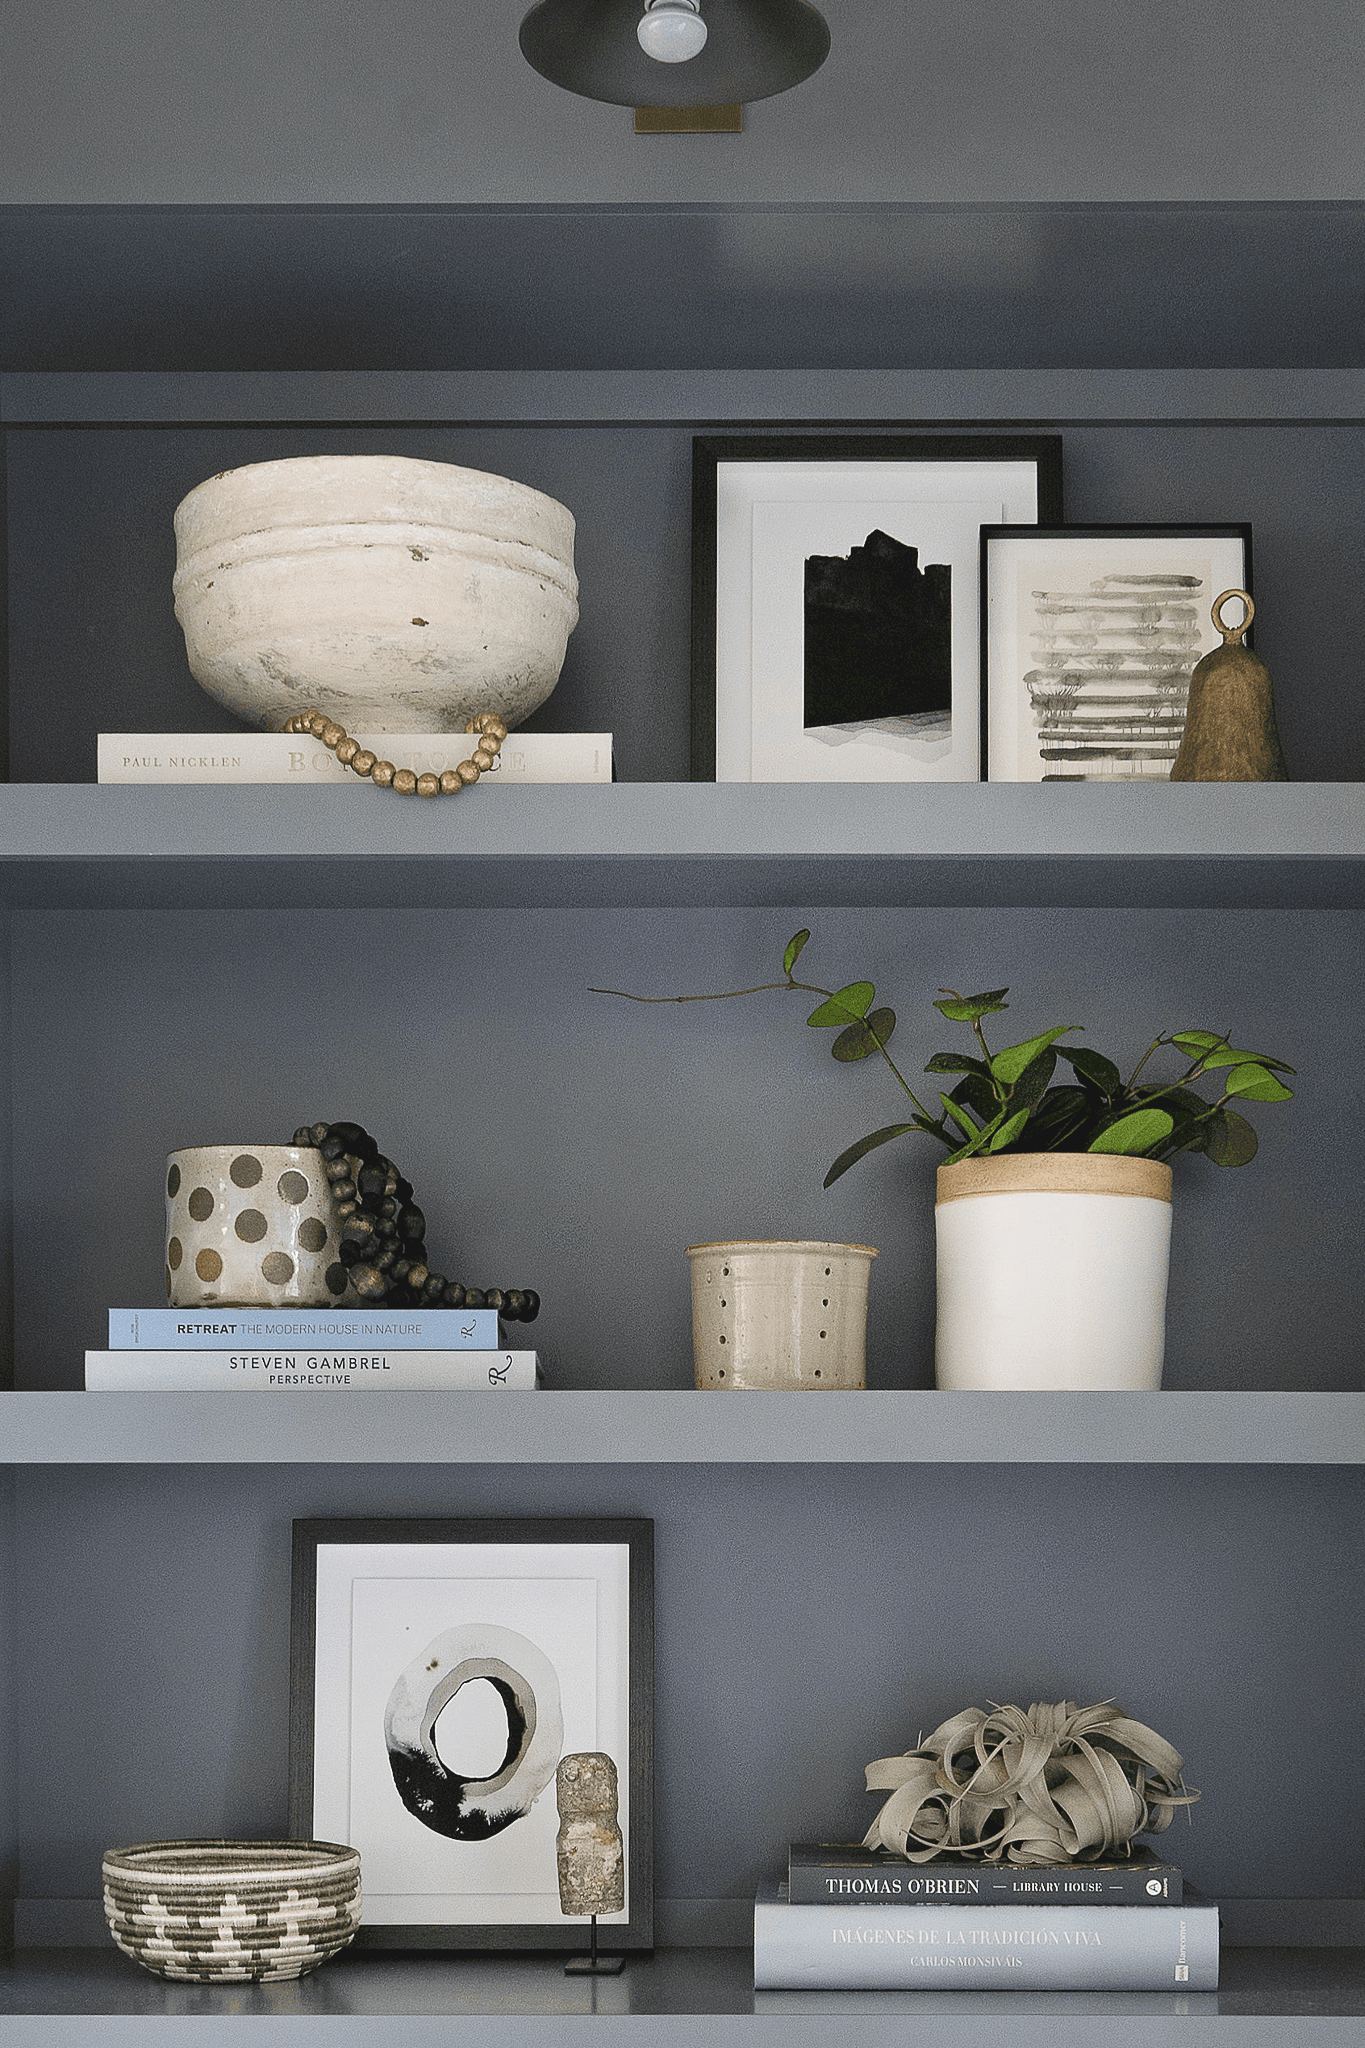
Ah, the shelfie. There’s something about a perfectly styled shelf that just makes our hearts sing. When it comes to how to style a shelf, it’s important to consider the types of objects, the scale of your pieces, and the groupings you create with them. In today’s post, we’ll be sharing everything you need to know about how to style a shelf, as well as the step-by-step method we use in all of our projects. So, keep reading for our best shelf styling tips, and shop the curated shelfie we created for you below!
Base Objects
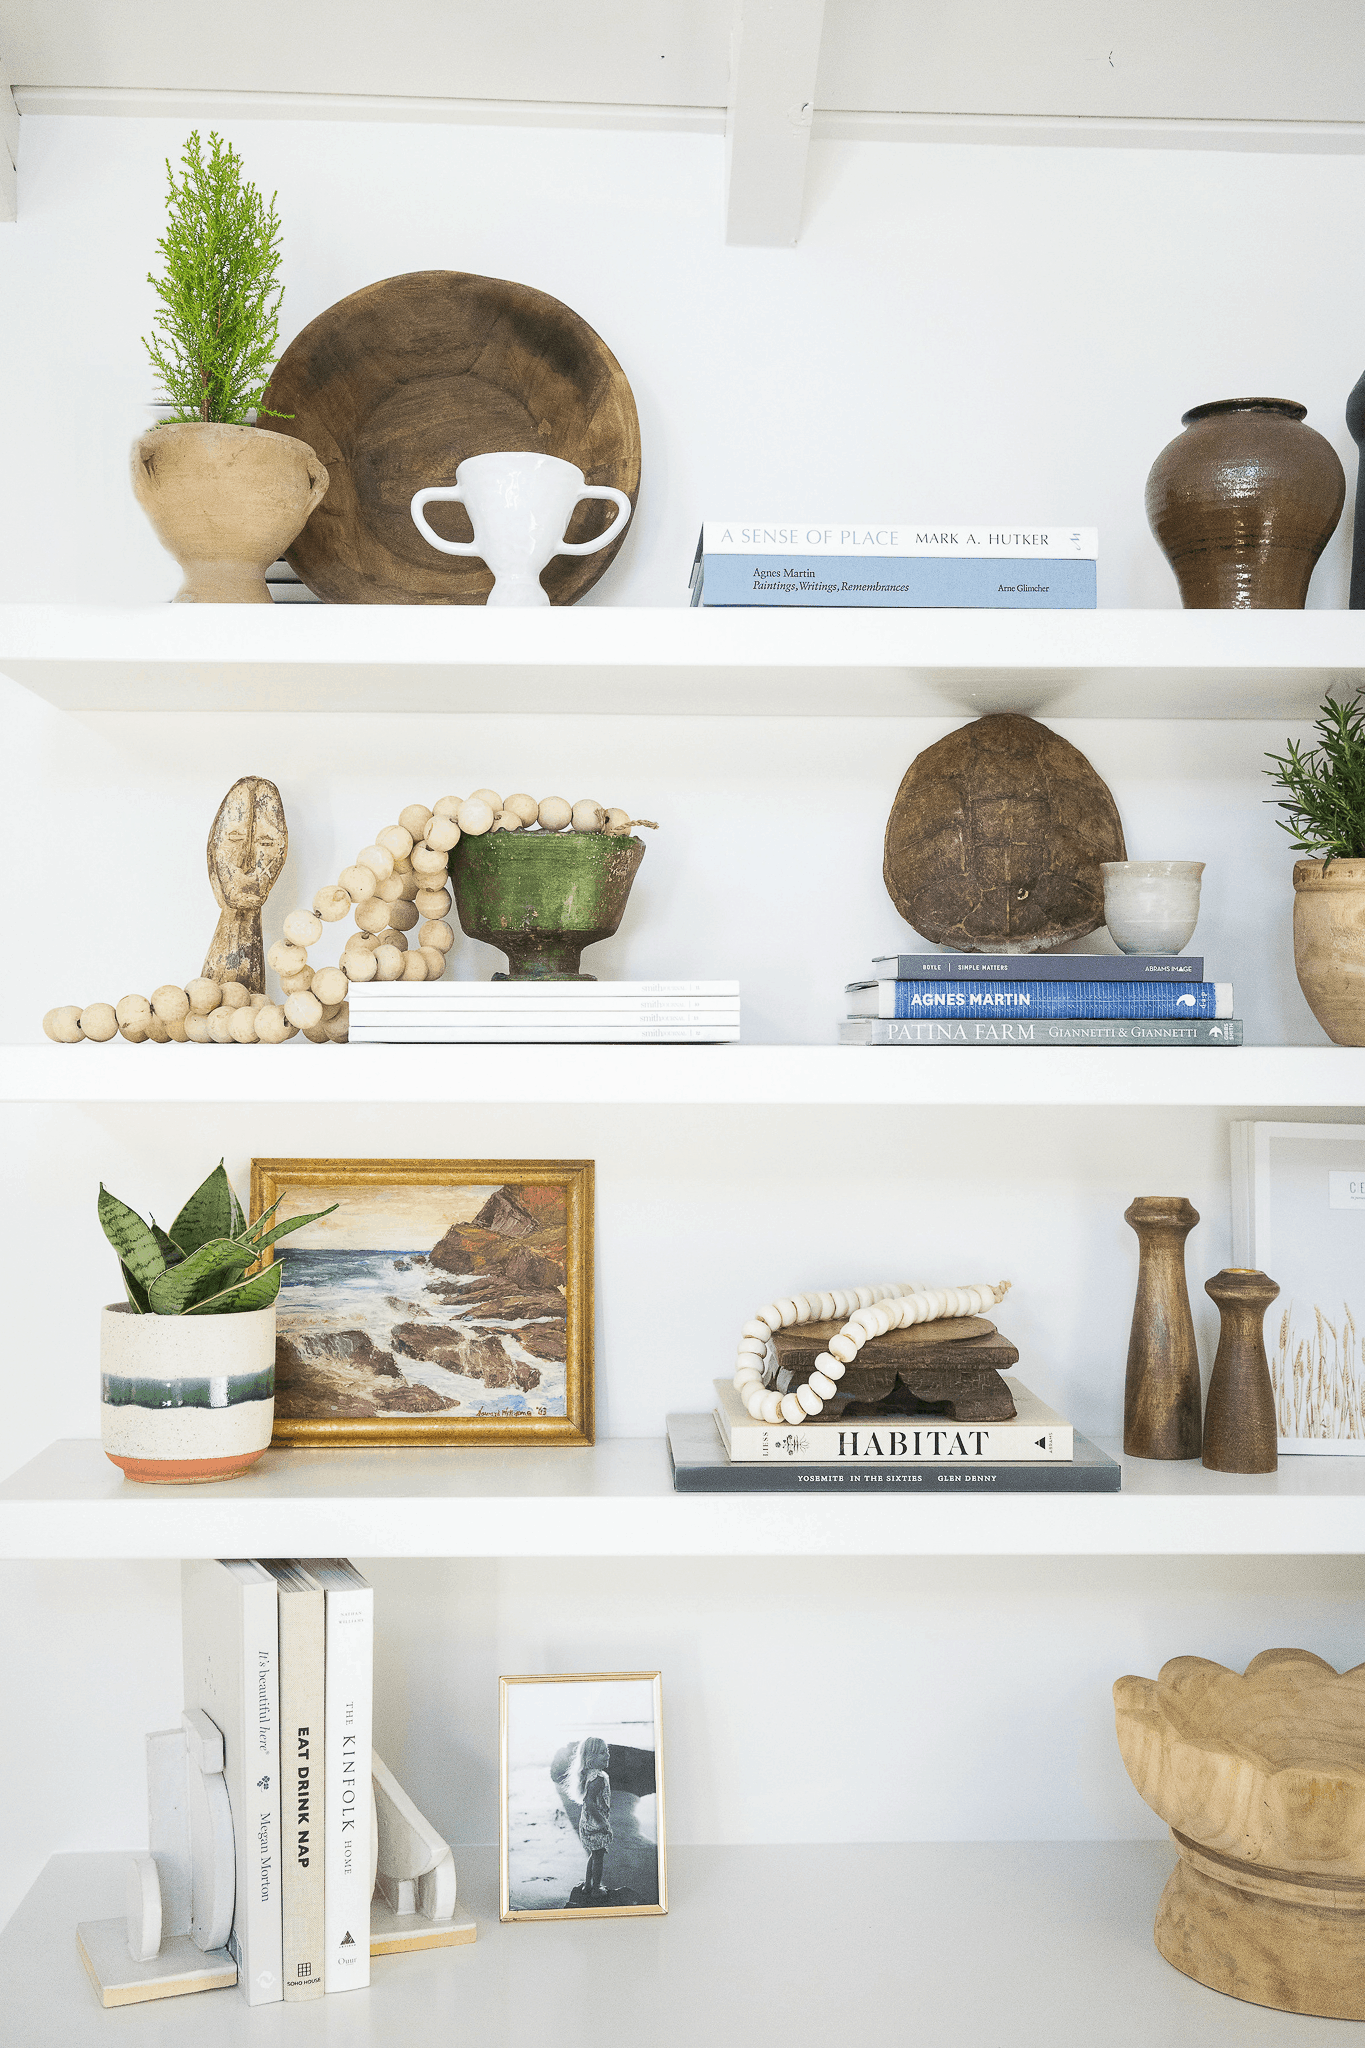
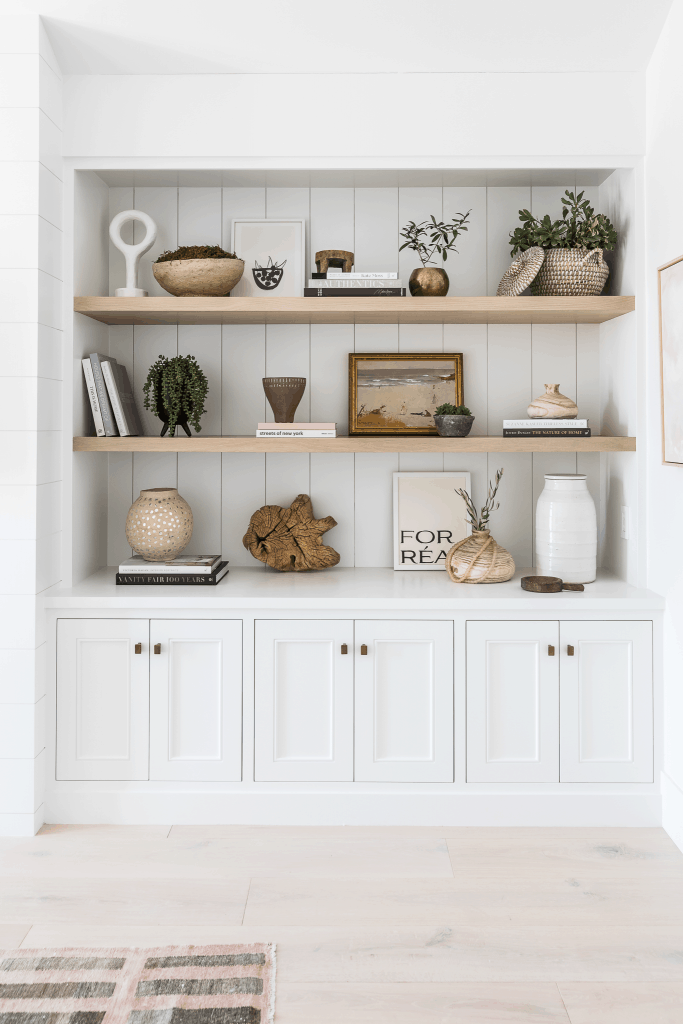
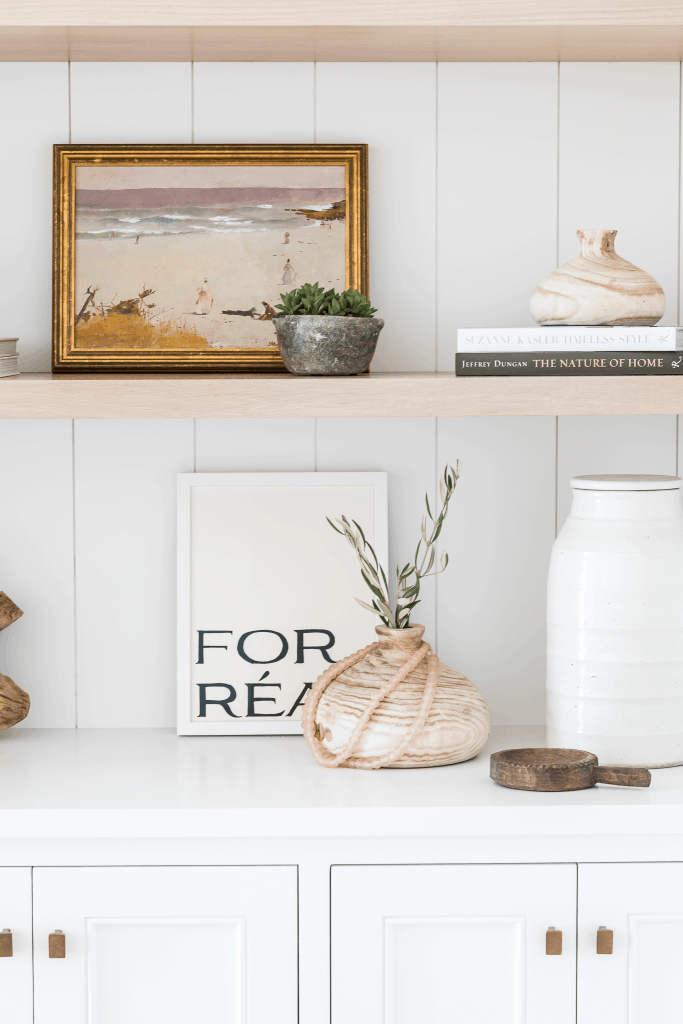
The first things to consider when styling an empty shelf are your base objects. Base objects are larger items that you’ll build around for your overall shelf design. For us, we typically use baskets, artwork, and books as our base items. Once you’ve selected your larger base objects, you can start to fill in the gaps with smaller pieces in the same color palette, tone, or style.
The Zig-Zag Technique
One shelf styling technique to keep in mind is the zig-zag technique. We like to think of this as creating movement within your shelf design! The goal with a zig-zag styling technique is to make the viewer’s eye bounce back and forth as they take in your design. You can create this by using objects in similar sizes and color palettes on each shelf.
Object Height
A mistake that many people make when styling is using lots of smaller objects. This can make your shelf look cluttered and messy instead of perfectly curated. With larger shelves in particular, you’ll want to consider the height of your styling objects. Our general rule is to have at least one object per shelf that is taller than half the height of the shelf. That height will make empty space disappear, and help your overall design feel intentional and full. Our go-to taller objects are typically art prints and plants.
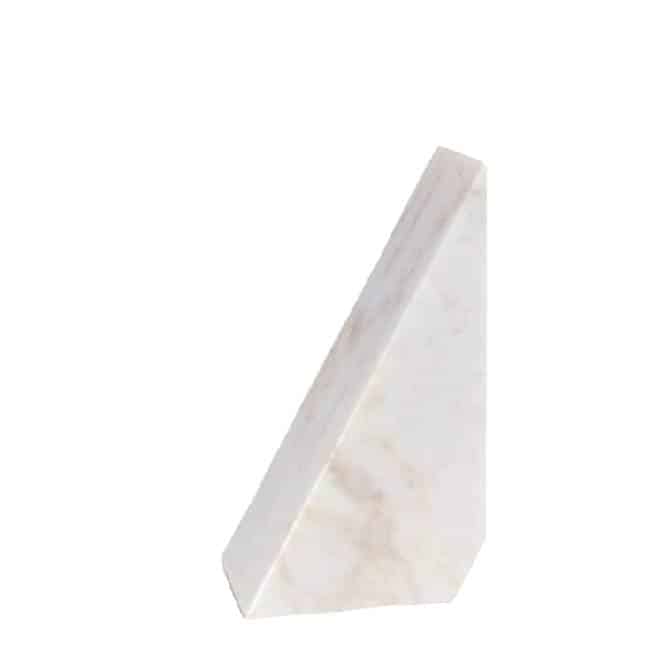
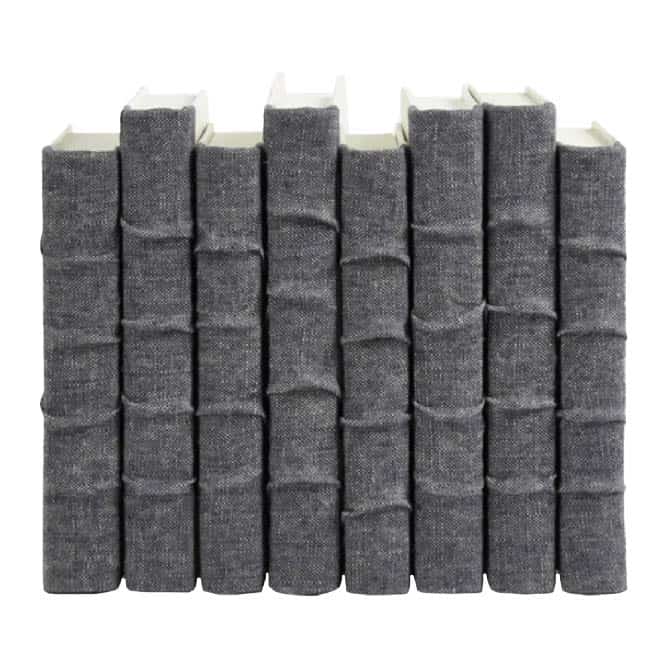
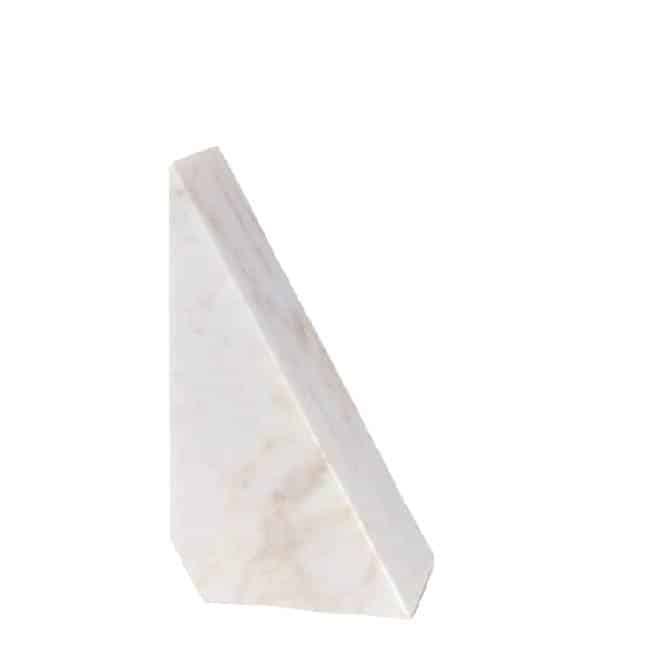
Below, we’ve put together a fresh shelf design with some of our favorite styling objects, including books, art prints, and objects. Shop our shelf combination, and tag us on Instagram so we can see what you create!
Shop Our Combo
↓


Our Step-by-Step Guide On How To Style A Shelf
Step 1:
Remove everything from your shelf and start with a blank slate. Set out all of the styling objects you’ve pulled so you can see everything you have at once.
Step 2:
Fill in each shelf with your larger base objects. Start with one or two per shelf, and set them offset from one another on each level.
Step 3:
Start adding your smaller objects to fill in gaps and create groupings with your larger objects. Greenery can be a great way to add texture and color to each shelf in this step.
Step 4:
Take a step back and review your work! Don’t be afraid to start over if you don’t like what you’ve created. Some shelves will take a few tries before you find a combination that works perfectly in your space.
There you have it – The MGD guide on how to style a shelf! We hope this has been helpful and that you found a new piece or two to add to your shelfie. If you missed our last styling post on coffee tables, head there now for more tips on how to create that perfectly curated feel in all of your spaces. For more of our favorite styling objects, head to our affiliate shop where we’re always adding new art prints, styling objects, and decor. Thanks for following along!


